Just like Ritva, I love editing – and this time I had some extra help…Please visit Ritva’s inspirational site for more different edits! Thank you, Ritva, for a great challenge – I hope you won’t mind some tweaking for my granddaughter…


I have chosen pictures from my Africa gallery, and I can assure you, I had some lovely hours editing! The first picture features one of all the icredibly beautiful skies in Zimbabwe, seen from the Zambesi river.
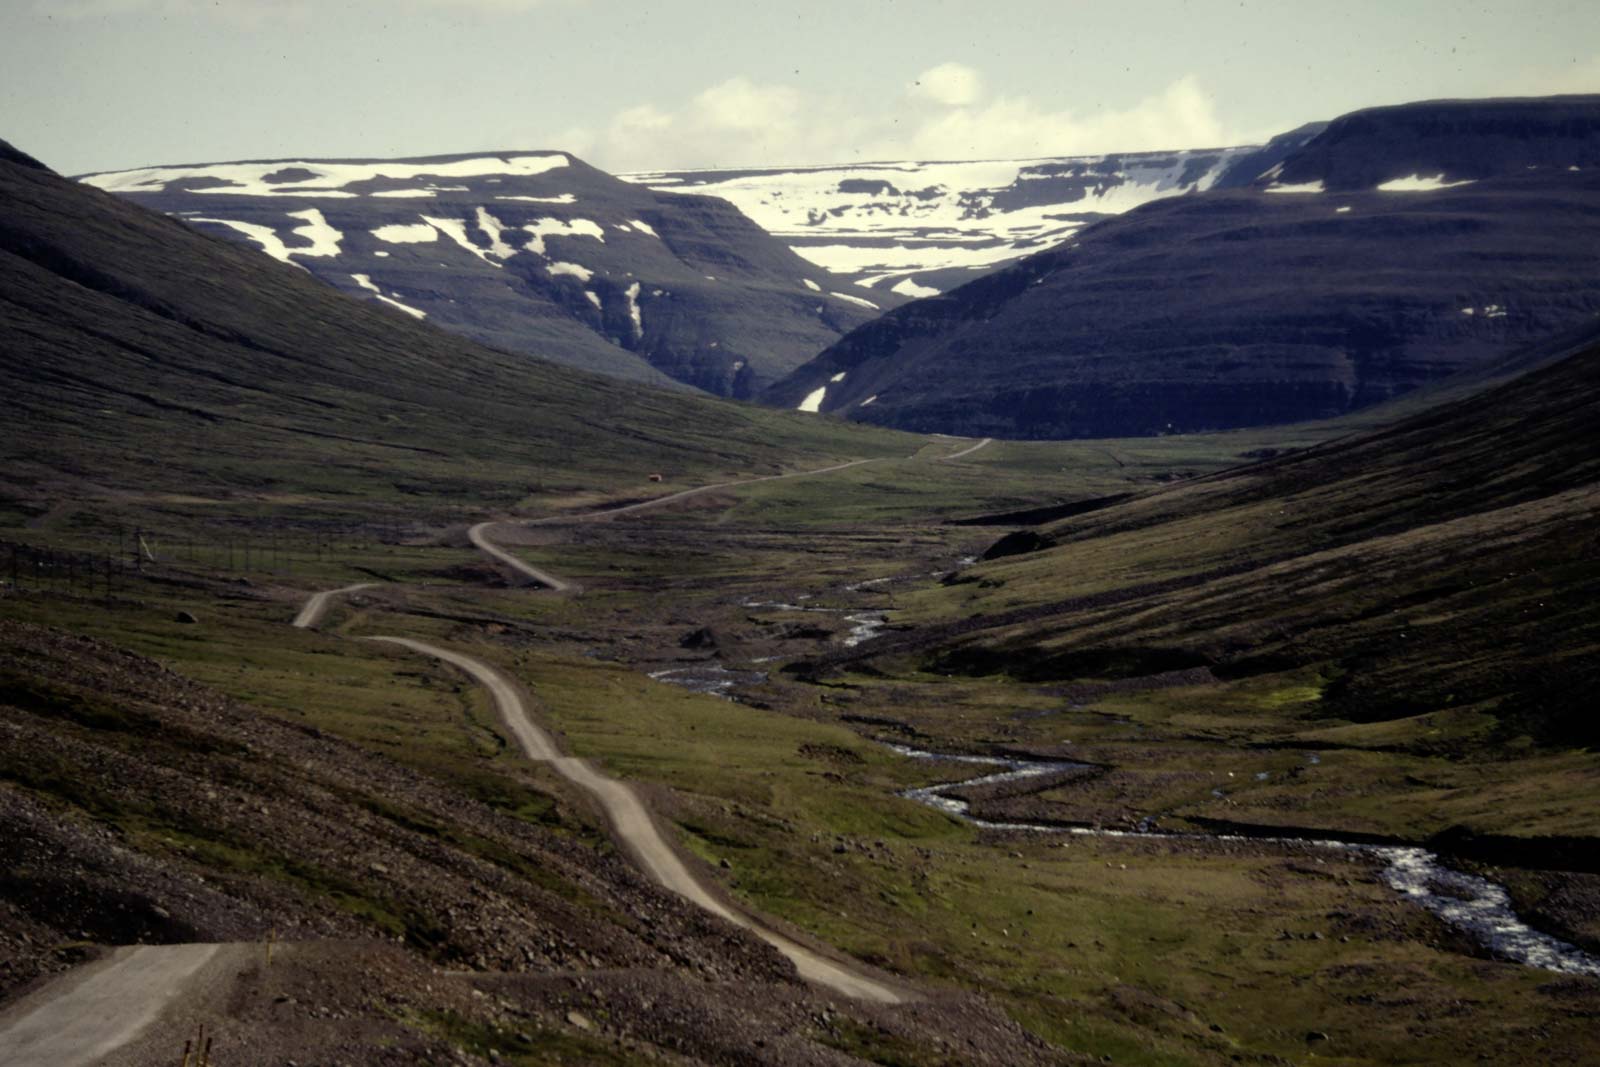
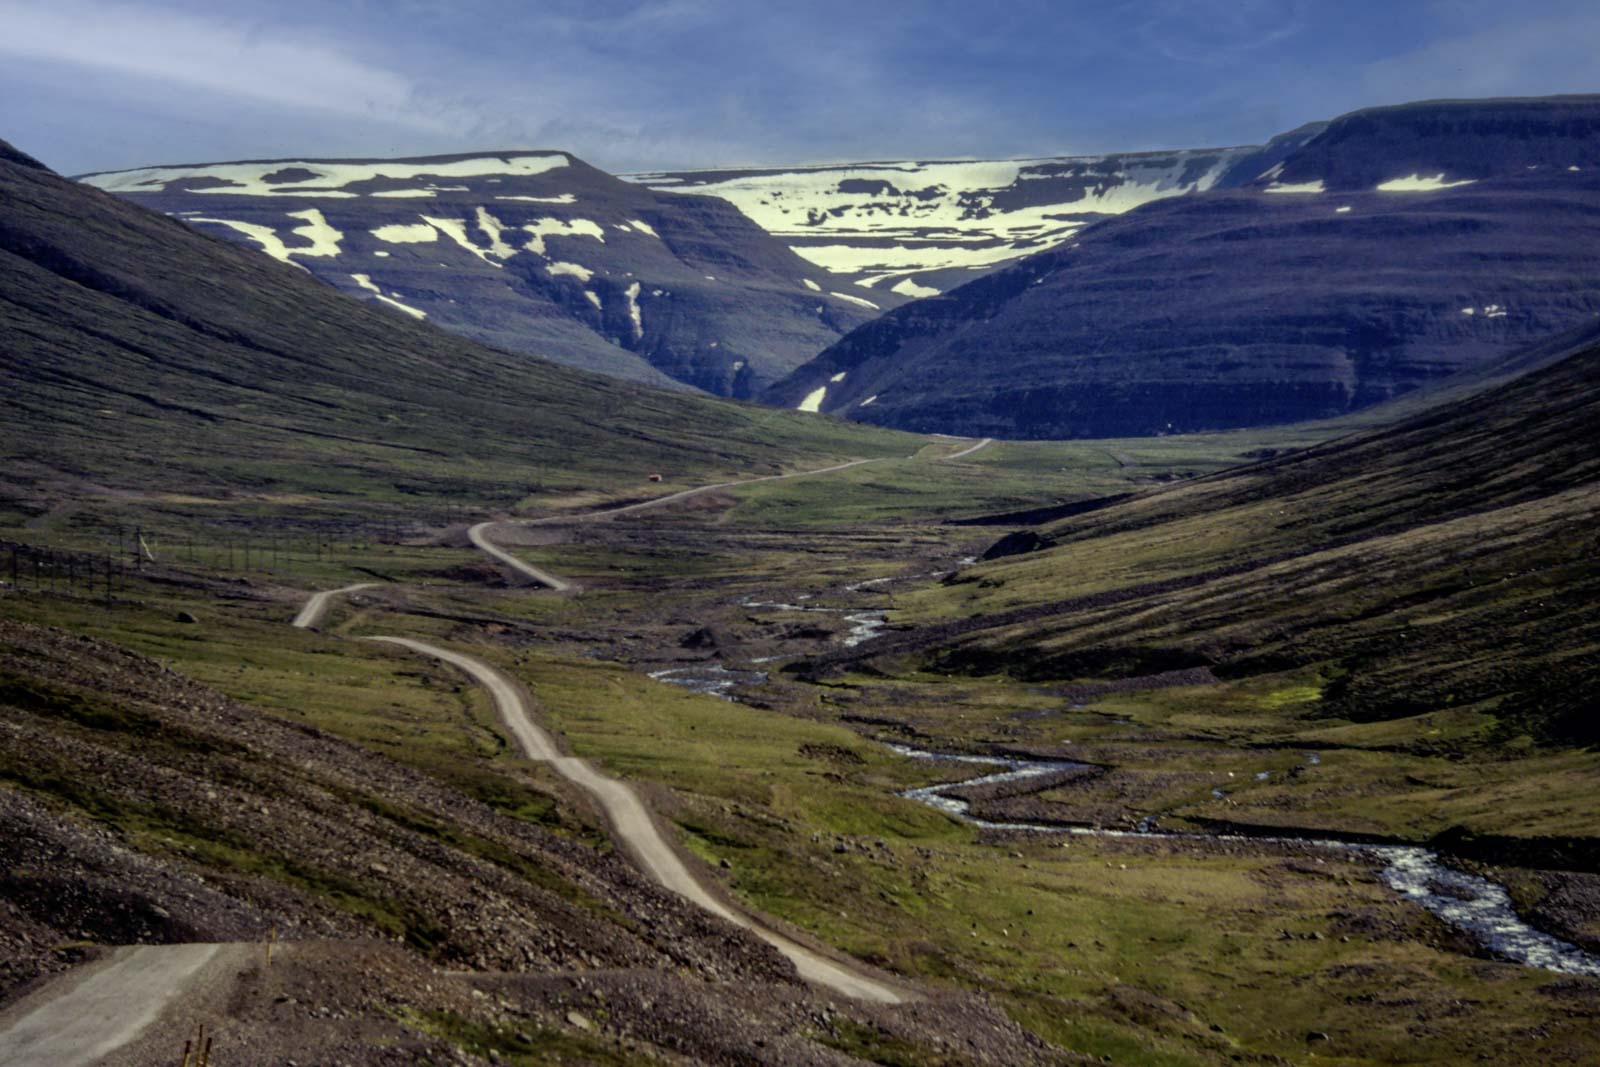
All the original pictures are on the left side, and the extra edited ones are on the right side. Usually, I enhance the light if needed, sometimes a light saturation, and sometimes a crop if the main object sits in the ”wrong” place. Here I felt free to use some more tricks for Ritva’s interesting challenge.
In this photo, I wanted to get back the warm, golden light before the sunset was complete. (I missed out on that one, so, in fact I saw both these sights, within a short amount of time. Each beautiful in its own way.


The above picture was taken from the easternmost part of Victoria Falls, on the border to Zambia. I fell in love with the little hut sitting just on the precipice – but had difficulties in showing the sight I saw inside my head and the feeling I had of Nature Magic. In the end I resorted to AI, which produced a kind of fantasy picture the looks of JRR Tolkien’s trilogy of the Ring – Rivendell. This result failed me in my own tries.


In this indoor picture from our ”tent” at the camp in South Africa, I loved all the creases and the soft, golden light – but also saw a potential winter’s tale from Sweden. Taking down the highlight, I was still not happy with the window look, so I darkened the picture some, and found a Lightroom preset that both intensified the creases, and made a snowy-like look through the window. This might as well have been a winter stay up north in Sweden.


Often the bush would surprise us with a long neck suddenly peeping up over the trees. I found those moments hilarious, and thought I would make this shot a bit more movie – like. I found a Lightroom preset that fit my inner image, darkening the background and enhancing the giraffe almost into a comic strip figure.


Back to a short real life feeling again! Like many of us, I love water drops, and they often look amazing converted into B&W. Here done with Nik collection.

As my granddaughter of 4 1/2 was here today, and she is in a dragon-and-unicorn phase right now, I might have guessed her answer to my question about what more I should do with this picture … Of course a Dragon is the answer to everything!
Last week we featured a guest host, Steve Hyde (of Steve Hyde Photography Blog) and he provided us with a wonderful, but difficult, challenge. We loved all the fantastic, Best Ever Photos you shared!
Sofia will return next week, so we will see what she has in store for us. Tune in to find out more about the challenge then.
Until then, please stay curious, positive and kind.
You can keep up with all of our challenges by subscribing to the Lens-Artists team members websites: Tina, Patti, Ann-Christine, John, Sofia, Anne, Egidio, Beth. Ritva,
For information on how to join the Lens-Artists challenge please click here.





Du måste vara inloggad för att kunna skicka en kommentar.